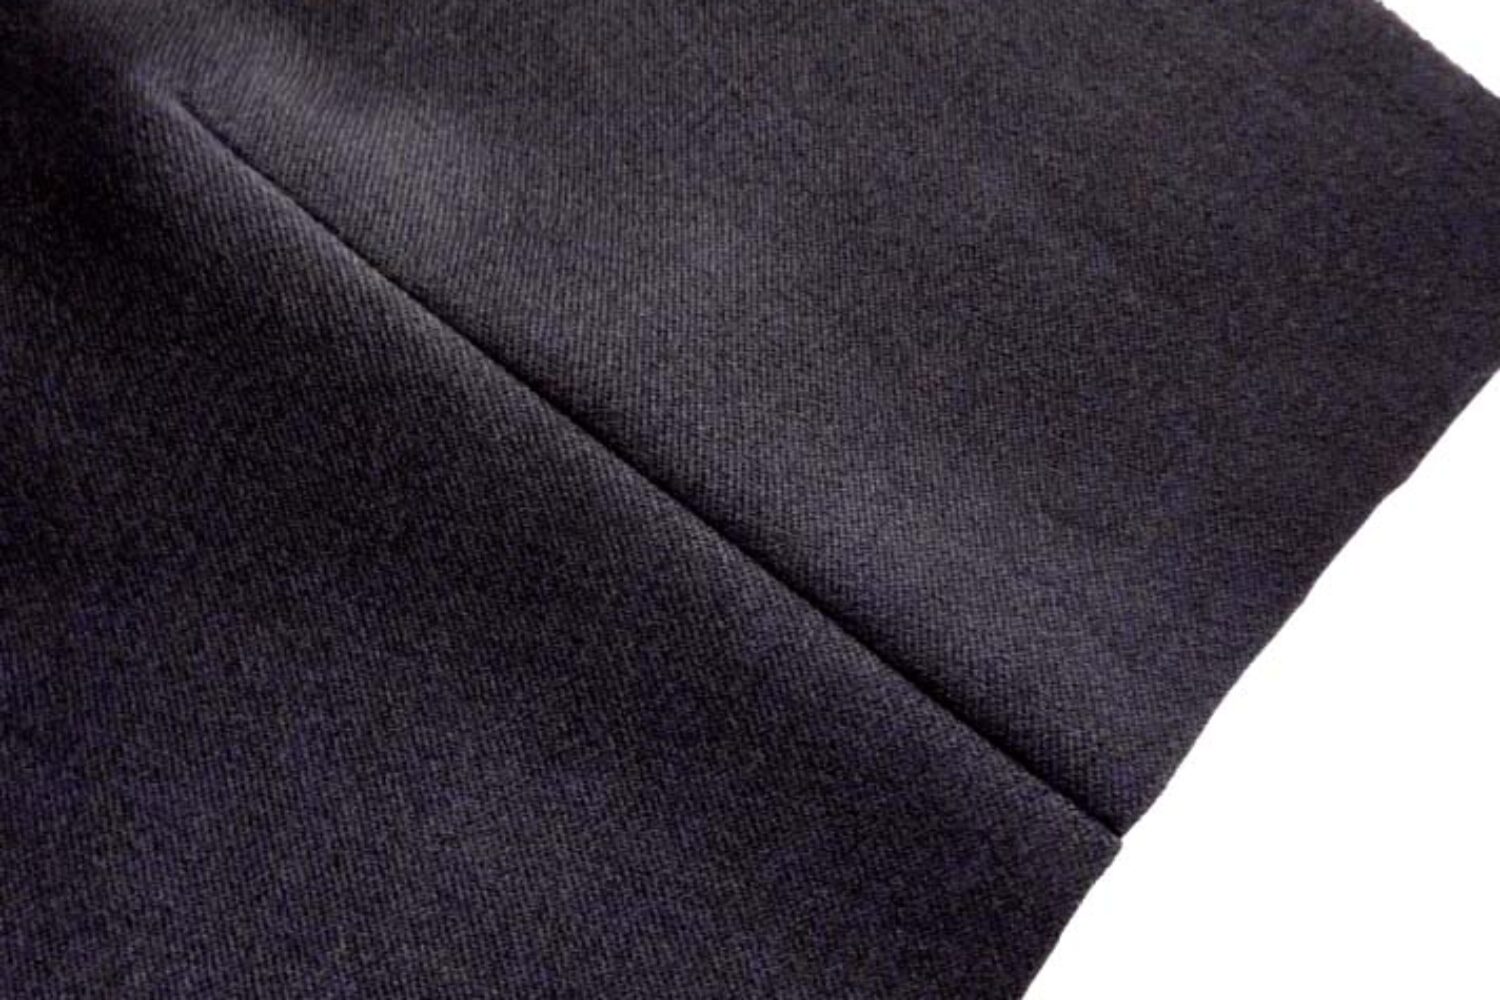
Darts are sewn in garments to help create a body shape. A dart is one of the most common elements that you will come across when sewing a garment and the dart amount, shape and depth will depend on the garment fit.
If you have been working with heavy-weight fabrics, you have probably noticed that once the dart is sewn it turns out to be much bulkier than when working with lightweight fabrics. In this article we want to focus on how to reduce dart bulk.
This method is most suitable for garments that are lined or made from fabric that does not fray. Why? Because the end result dart will have raw edge seams that are not suitable for neat overlocking. But, there are always ways around this….if patience and hand sewing is your strength, the edges can be neatened using hand sewing techniques to prevent fraying.
Here are the steps for you!
STEP 1:
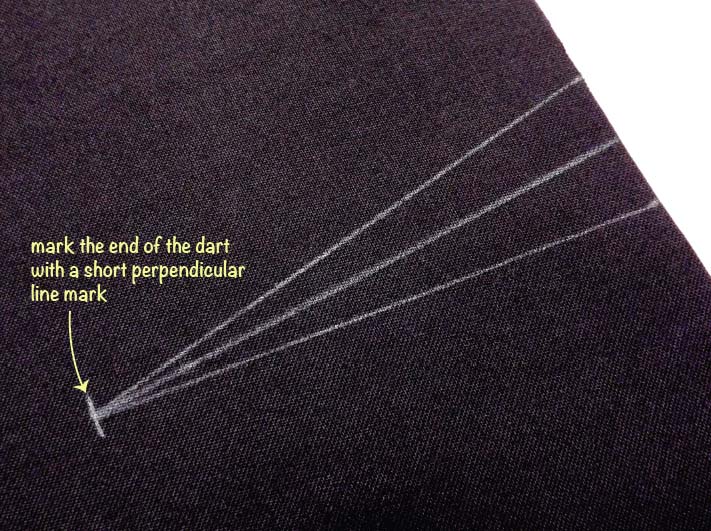
- using tailors chalk mark the dart on the fabric
- mark the length of the dart with a short perpendicular line, it will act as a clear guide on where the dart tip ends
STEP 2:
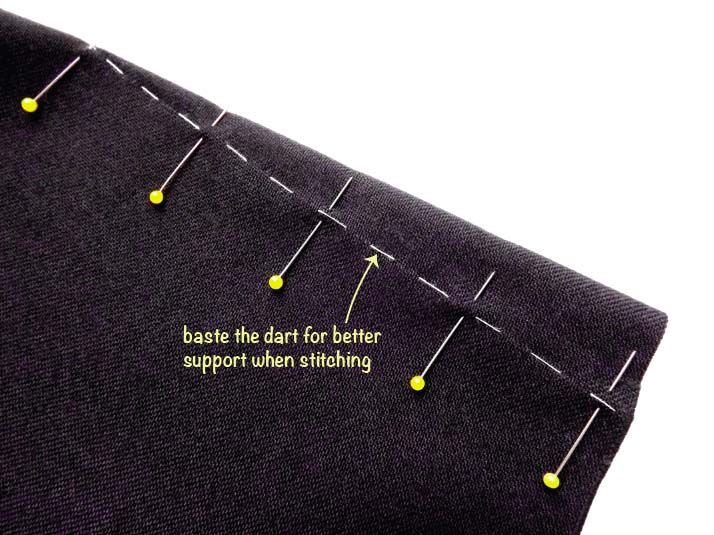
- fold the dart in half with the right sides of the fabric together
- pin or baste in place the matching dart legs
STEP 3:
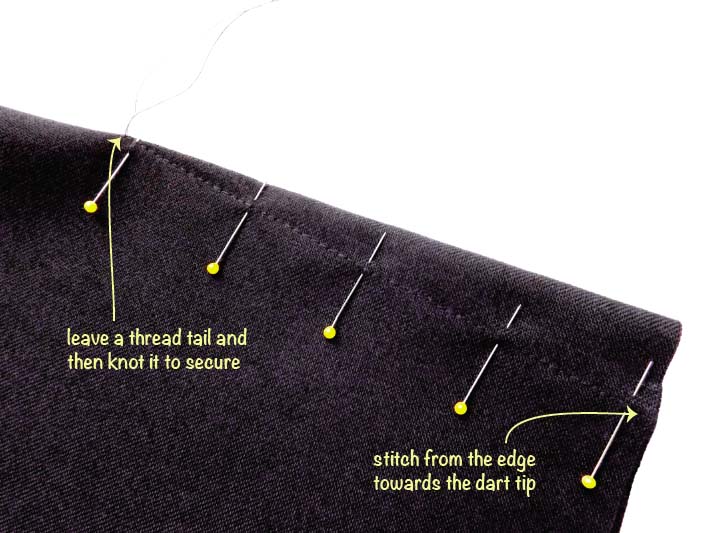
- stitch from the edge towards the dart tip (backstitch when starting, to secure)
- leave a thread tail at the dart tip and then knot it to secure
STEP 4:
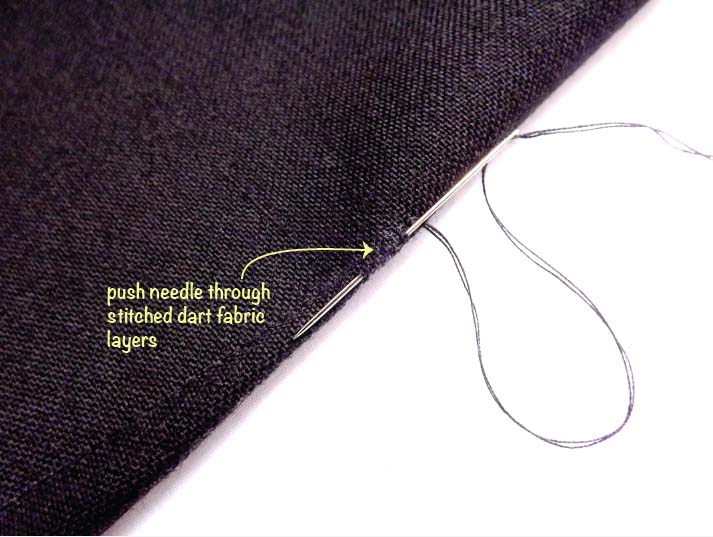
- neaten knotted threads – pull thread ends through needle
- push needle between stitched dart fabric layers
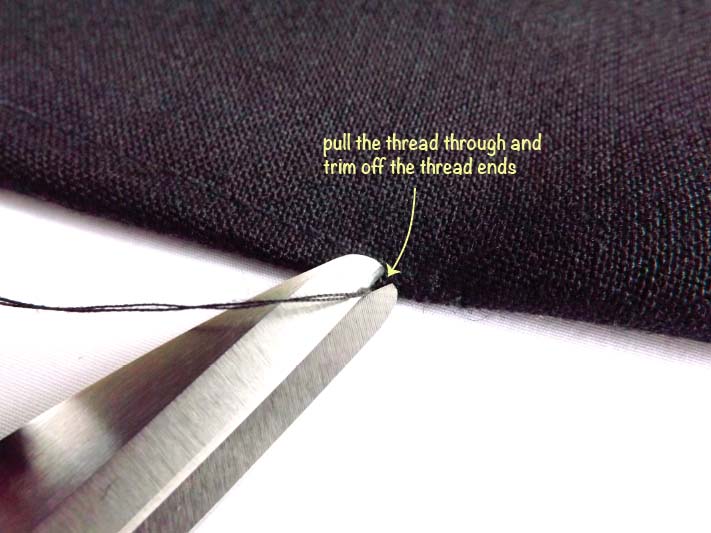
- pull the thread through and trim off the thread ends
STEP 5:
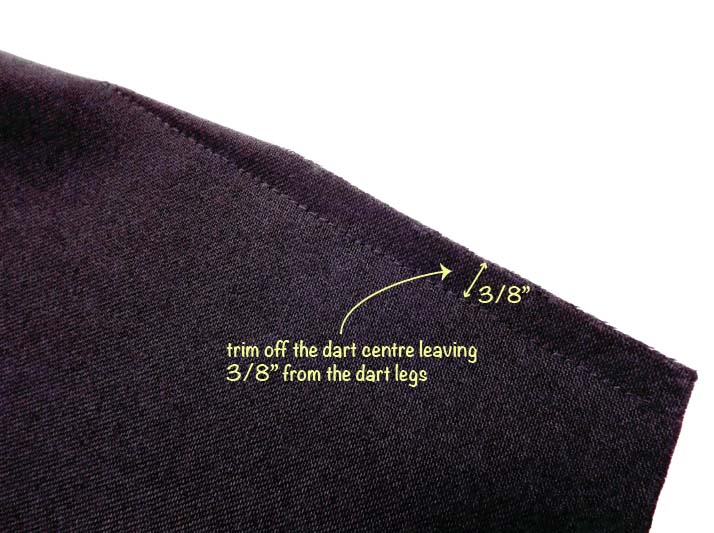
- to reduce dart bulk, trim off the dart centre part leaving 3/8’’ seam from the dart legs
STEP 6:
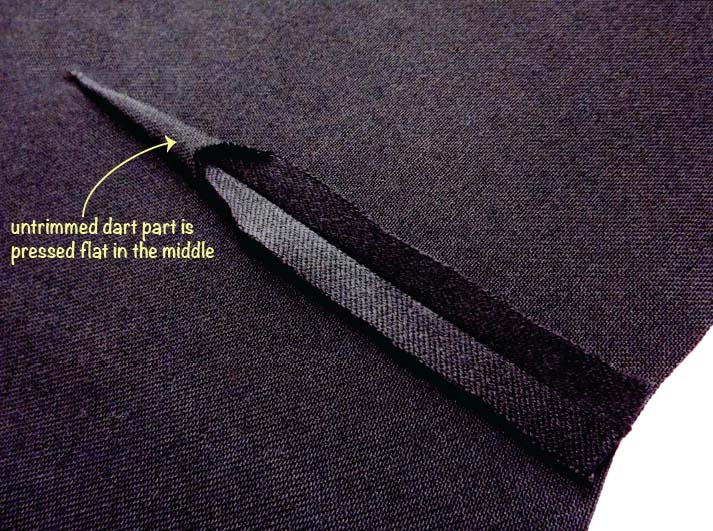
- open the dart and press the seams open
- the untrimmed dart part is pressed flat in the middle
I hope this technique will help you to reduce dart bulk!

