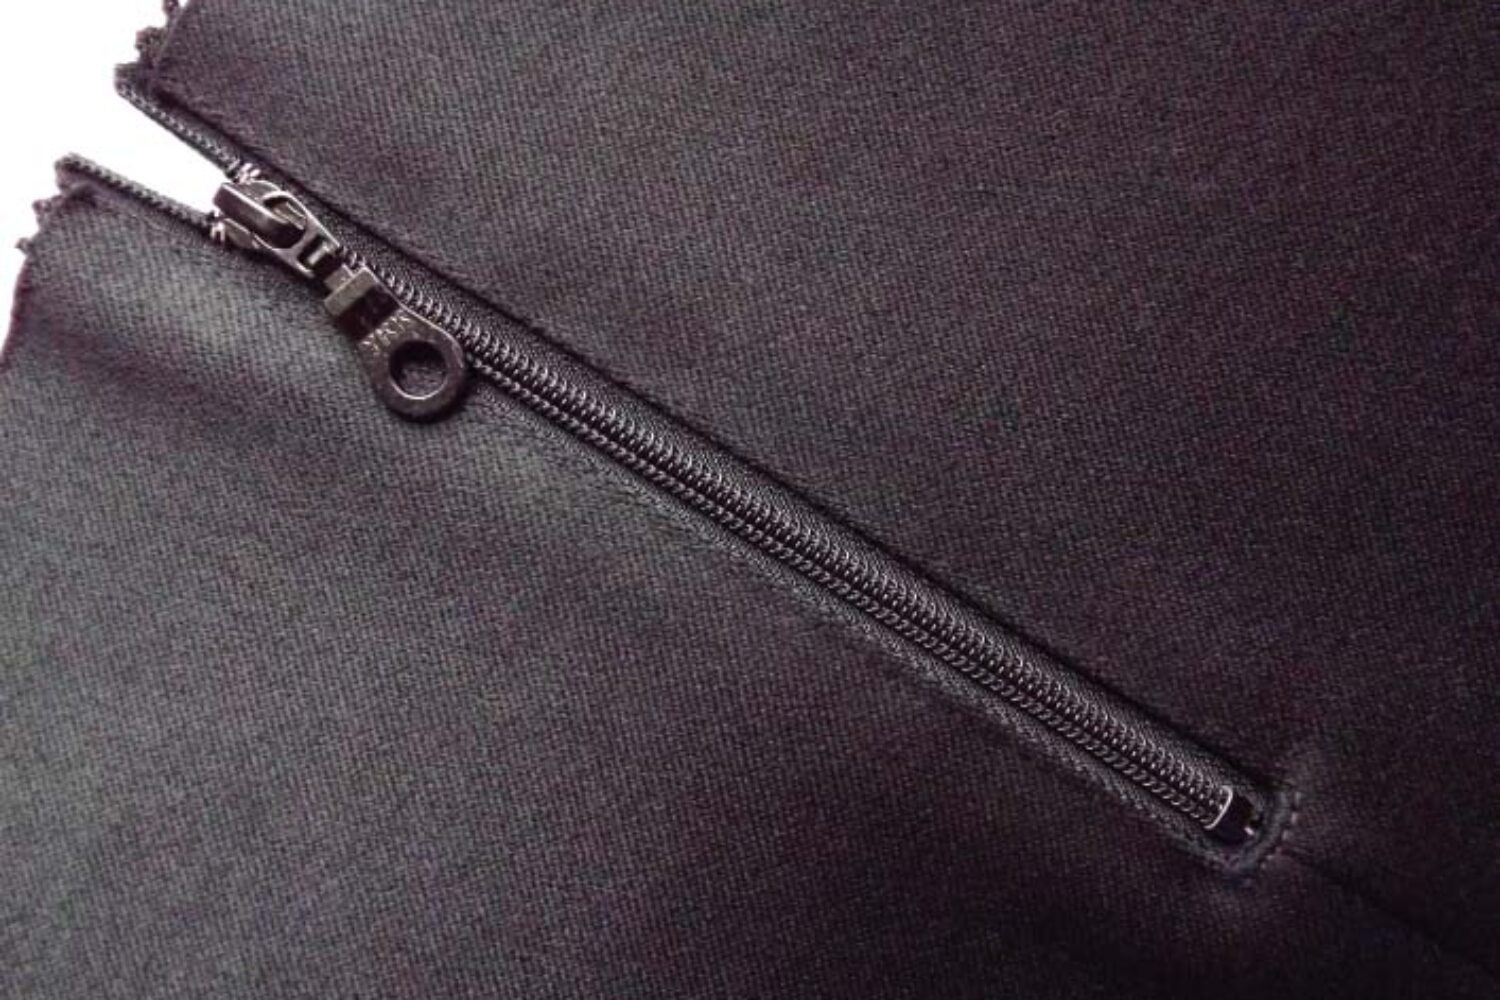
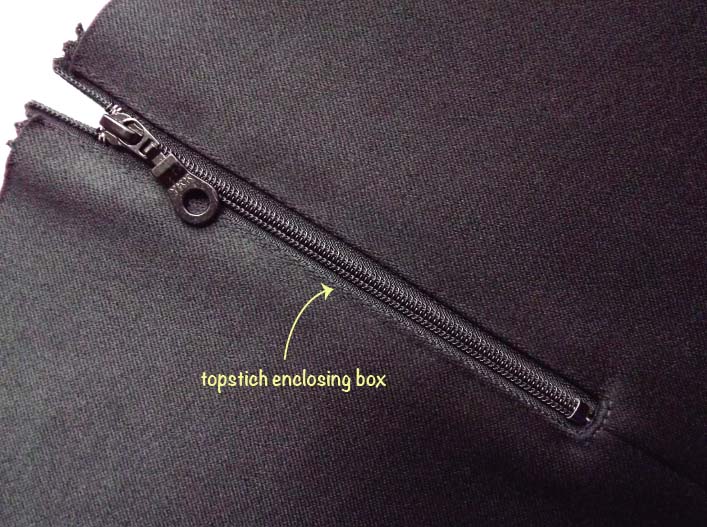
Exposed zips have been in the spotlight lately and can be seen in many designer garments and high street brands.
There is a big range of zips available out there and by being creative, which I’m sure you are, you have all the tools to turn your garment into something that stands out from the crowd of ready-made clothing.
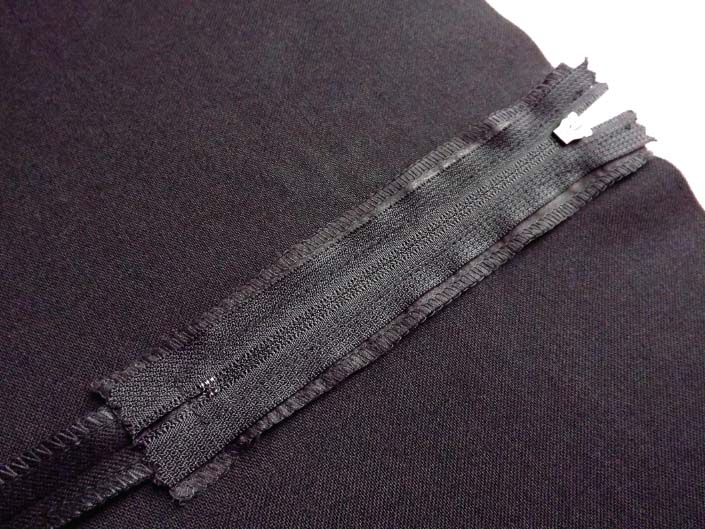
We have seen many exposed zip finishing methods. In this post we wanted to pay particular attention to a neat exposed zip finish inside the garment. Some of you might think it doesn’t really matter what the inside looks like, as no one will see it, but the true measure of your skill is how you do what no one sees!
Here are the steps for you!
STEP 1:
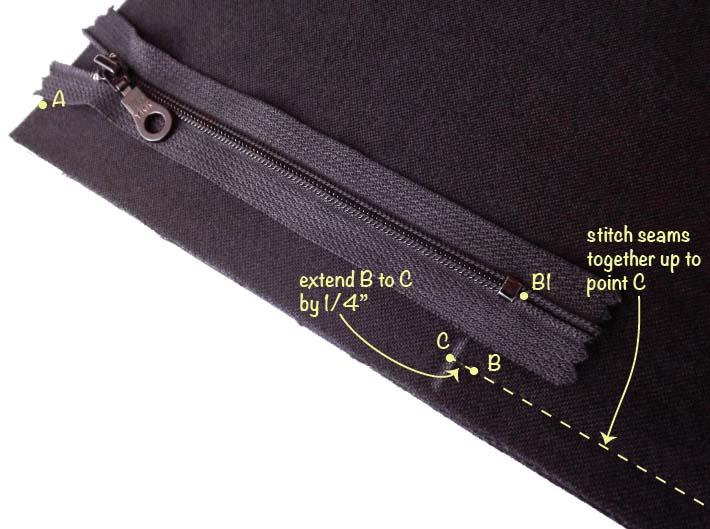
- place zip seams right side to right side
- determine the length of your zip opening A to B (where B1 matches B)
- extend seam length from B to C by ¼” (the extra length is needed for creation of the zip enclosing box)
- stitch seams together up to point C
STEP 2:
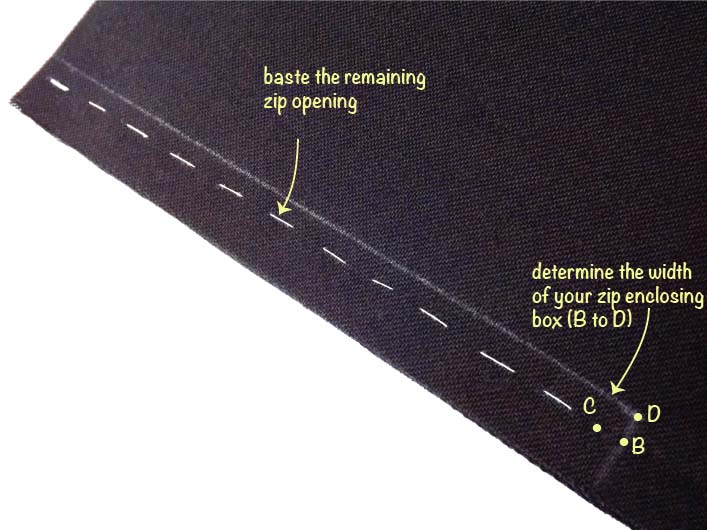
- baste the remaining zip opening
- determine the width of your zip enclosing box, I used ¼” for my zip (B to D)
STEP 3:
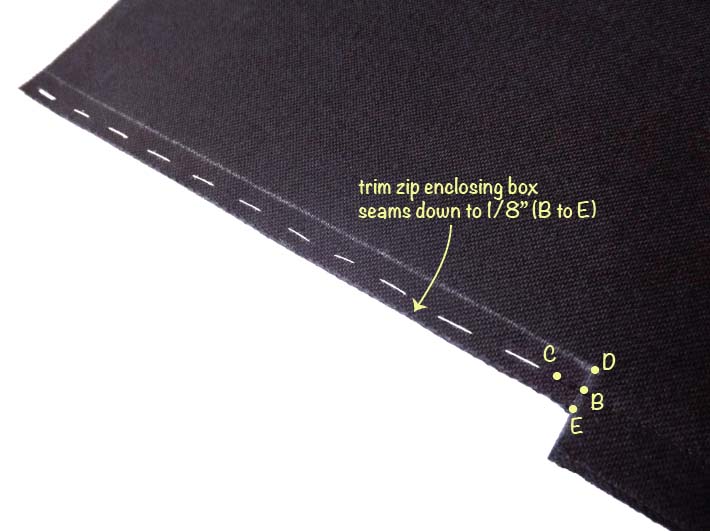
- trim zip enclosing box seams down to 1/8”(B to E)
STEP 4:
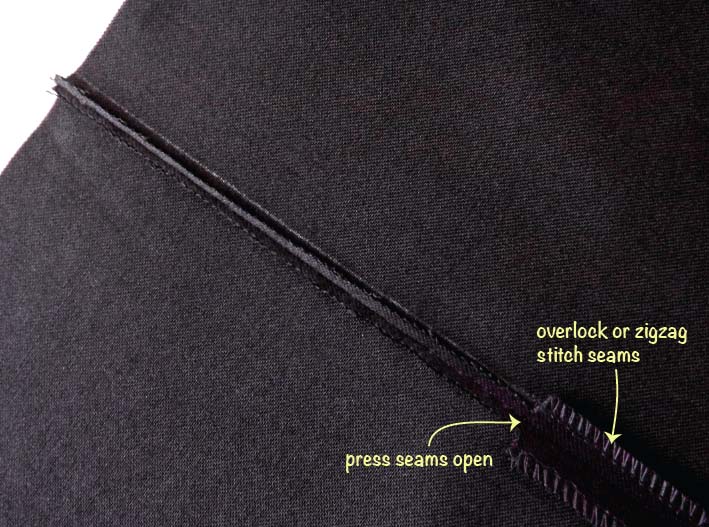
- press seams open
- overlock or zigzag stitch seams
STEP 5:
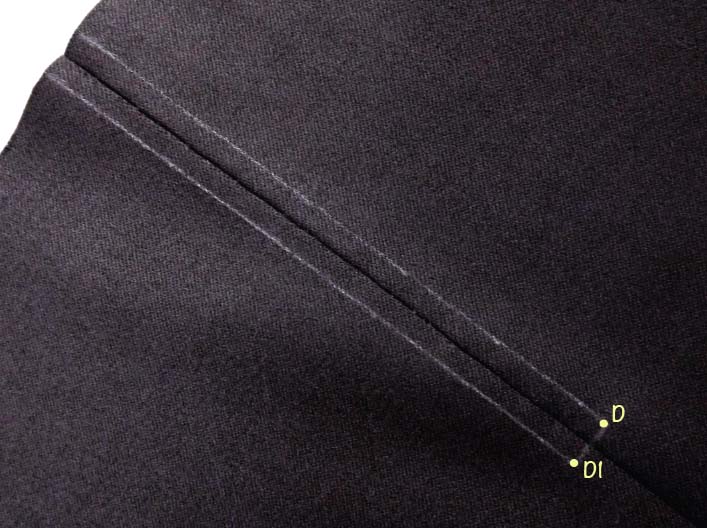
- transfer zip box marks to garment right side
- D1 to D totals ½”
STEP 6:
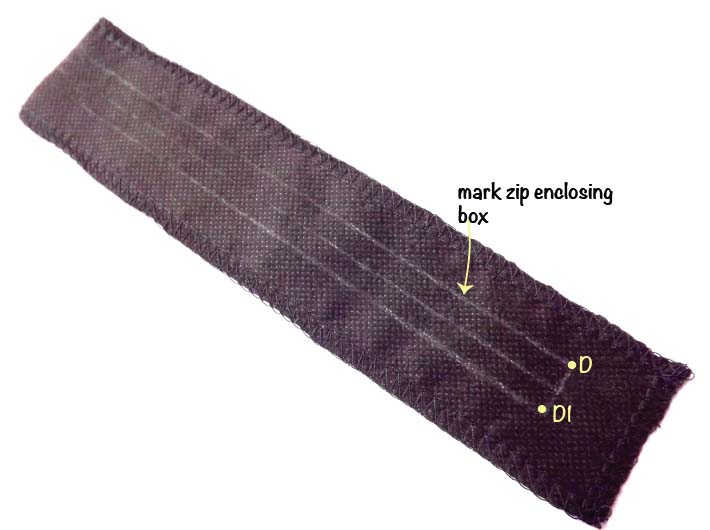
- cut out your facing (lining can be used for this purpose)
- width of facing approximately 1 ½”
- fuse your facing and overlock or zigzag stitch the edges
- in the middle of the facing mark zip enclosing box ( D to D1 is ½”)
STEP 7:
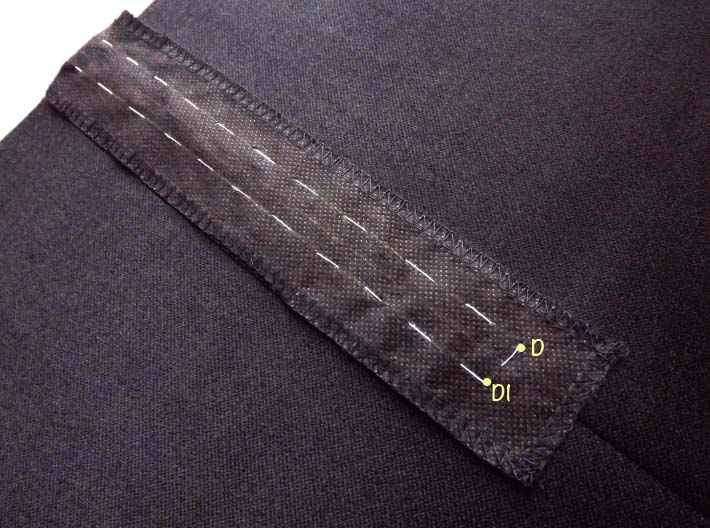
- place facing on the garment right side to right side
- match points D to D and D1 to D1
- baste in place
STEP 8:
- stitch around the enclosing box
- cut through the box, snipping into the corners
STEP 9:
- turn facing to the inside of the garment
- position zip in the centre of the enclosing box
- baste for support if required and topstitch around the box
STEP 10:
I hope you have mastered the art of inserting an exposed zip and picked up some new skills along the way!

